

Deploy Your Site on Vercel
Full guide to prepare your project, install Git and GitHub, push the project to your repository, connect Vercel, add environment variables, and deploy your website online.


Step 1. Install Git
Git is required internally by GitHub Desktop.
- 1.a.i.Go to the official Git website
- 2.b.ii.Download the installer for Windows or macOS.
- 3.c.iii.Install using default recommended settings.
- 4.d.iv.After installation, restart your system once (recommended).
You do not need to use Git commands manually.
Step 2. Create a GitHub Account
GitHub stores your project online and connects it to Vercel.
- 2.b.ii.Create an account and verify your email.
- 3.c.iii.Stay logged in to GitHub.
Step 3. Install GitHub Desktop (Required)
We will use GitHub Desktop instead of terminal Git commands.
- 1.a.i.Download GitHub Desktop
- 2.b.ii.Install it on your PC or Mac.
- 3.c.iii.Open GitHub Desktop.
- 4.d.iv.Sign in using your GitHub account.
Step 4. Open Your Project Folder in VS Code
If you haven’t already opened the project:
![]() Guide:
Guide: ![]() How to Open the Project in VS Code
How to Open the Project in VS Code
Make sure:
- Node.js is installed
- The project opens correctly
- No errors appear in the terminal
Step 5. Create a GitHub Repository Using GitHub Desktop
- 1.a.i.Open GitHub Desktop
- 2.b.ii.Click File → Add Local Repository
- 3.c.iii.Select your project folder
- 4.d.iv.If prompted, click Create Repository
- 5.e.v.Fill details:
- Name:
portfolio,website, or your project name - Description: optional
- Keep README unchecked
- 6.f.vi.Click Create Repository
Step 6. Publish the Repository to GitHub
- 1.a.i.In GitHub Desktop, click Publish repository
- 2.b.ii.Choose:
- Keep repository Public or Private
- 3.c.iii.Click Publish Repository
Now your full project is live on GitHub.
Step 7. Create a Vercel Account
- 2.b.ii.Sign up using GitHub
- 3.c.iii.Allow repository access when asked
Step 8. Import Your GitHub Project into Vercel
- 1.a.i.In Vercel, click New Project
- 2.b.ii.Select your GitHub repository
- 3.c.iii.Vercel will automatically detect it as a Next.js project
- 4.d.iv.Continue to the setup screen
Step 9. Add Required Environment Variables
- 1.a.i.Open the
.env.examplefile in your project - 2.b.ii.Copy only the variables you actually use
- 3.c.iii.In Vercel:
- Go to Project → Settings → Environment Variables
- Add each key and value
Example:
NOTION_INTEGRATION_TOKEN=ntn_abc123def456ghi789
NOTION_DATA_SOURCE_ID=123def456ghi789

ENABLE_VERCEL_ANALYTICS=true
ENABLE_VERCEL_SPEED_INSIGHTS=true
NEXT_PUBLIC_GOOGLE_ANALYTICS_ID=true
NEXT_PUBLIC_GOOGLE_TAG_MANAGER_ID=false
NEXT_PUBLIC_DEFAULT_THEME=light
If you don’t know how to get any value, each key has its own detailed documentation.
Save the variables.
Step 10. Deploy the Site
- 1.a.i.Click Deploy in Vercel
- 2.b.ii.Vercel will build the project
- 3.c.iii.A live URL will be generated
Your website is now online.
Step 11. Test Everything
Check the following:
- Home page loads
- Internal links work
- Blog / project pages load
- Images and thumbnails load
- Metadata looks correct
- No missing environment variables
If something fails, check Vercel → Deployments → Build Logs.
Step 12. Connect a Custom Domain (Optional)
If you own a domain:
- 1.a.i.Go to Vercel → Project → Domains
- 2.b.ii.Add your domain
- 3.c.iii.Follow DNS instructions
- 4.d.iv.Wait for DNS propagation
Your site will load on your custom domain once DNS is ready.
Final Tips
- Whenever you add, edit, or update content in Notion, redeploy the site from Vercel.
- Keep file names clean and unique, especially images and PDFs uploaded from Notion.
- After changing environment variables, always redeploy.
- Use external hosting for large videos or heavy media to avoid slow build times.
- GitHub Desktop makes updates simple:
- Make changes
- Commit
- Push
- Redeploy on Vercel
![]() Bye
Bye


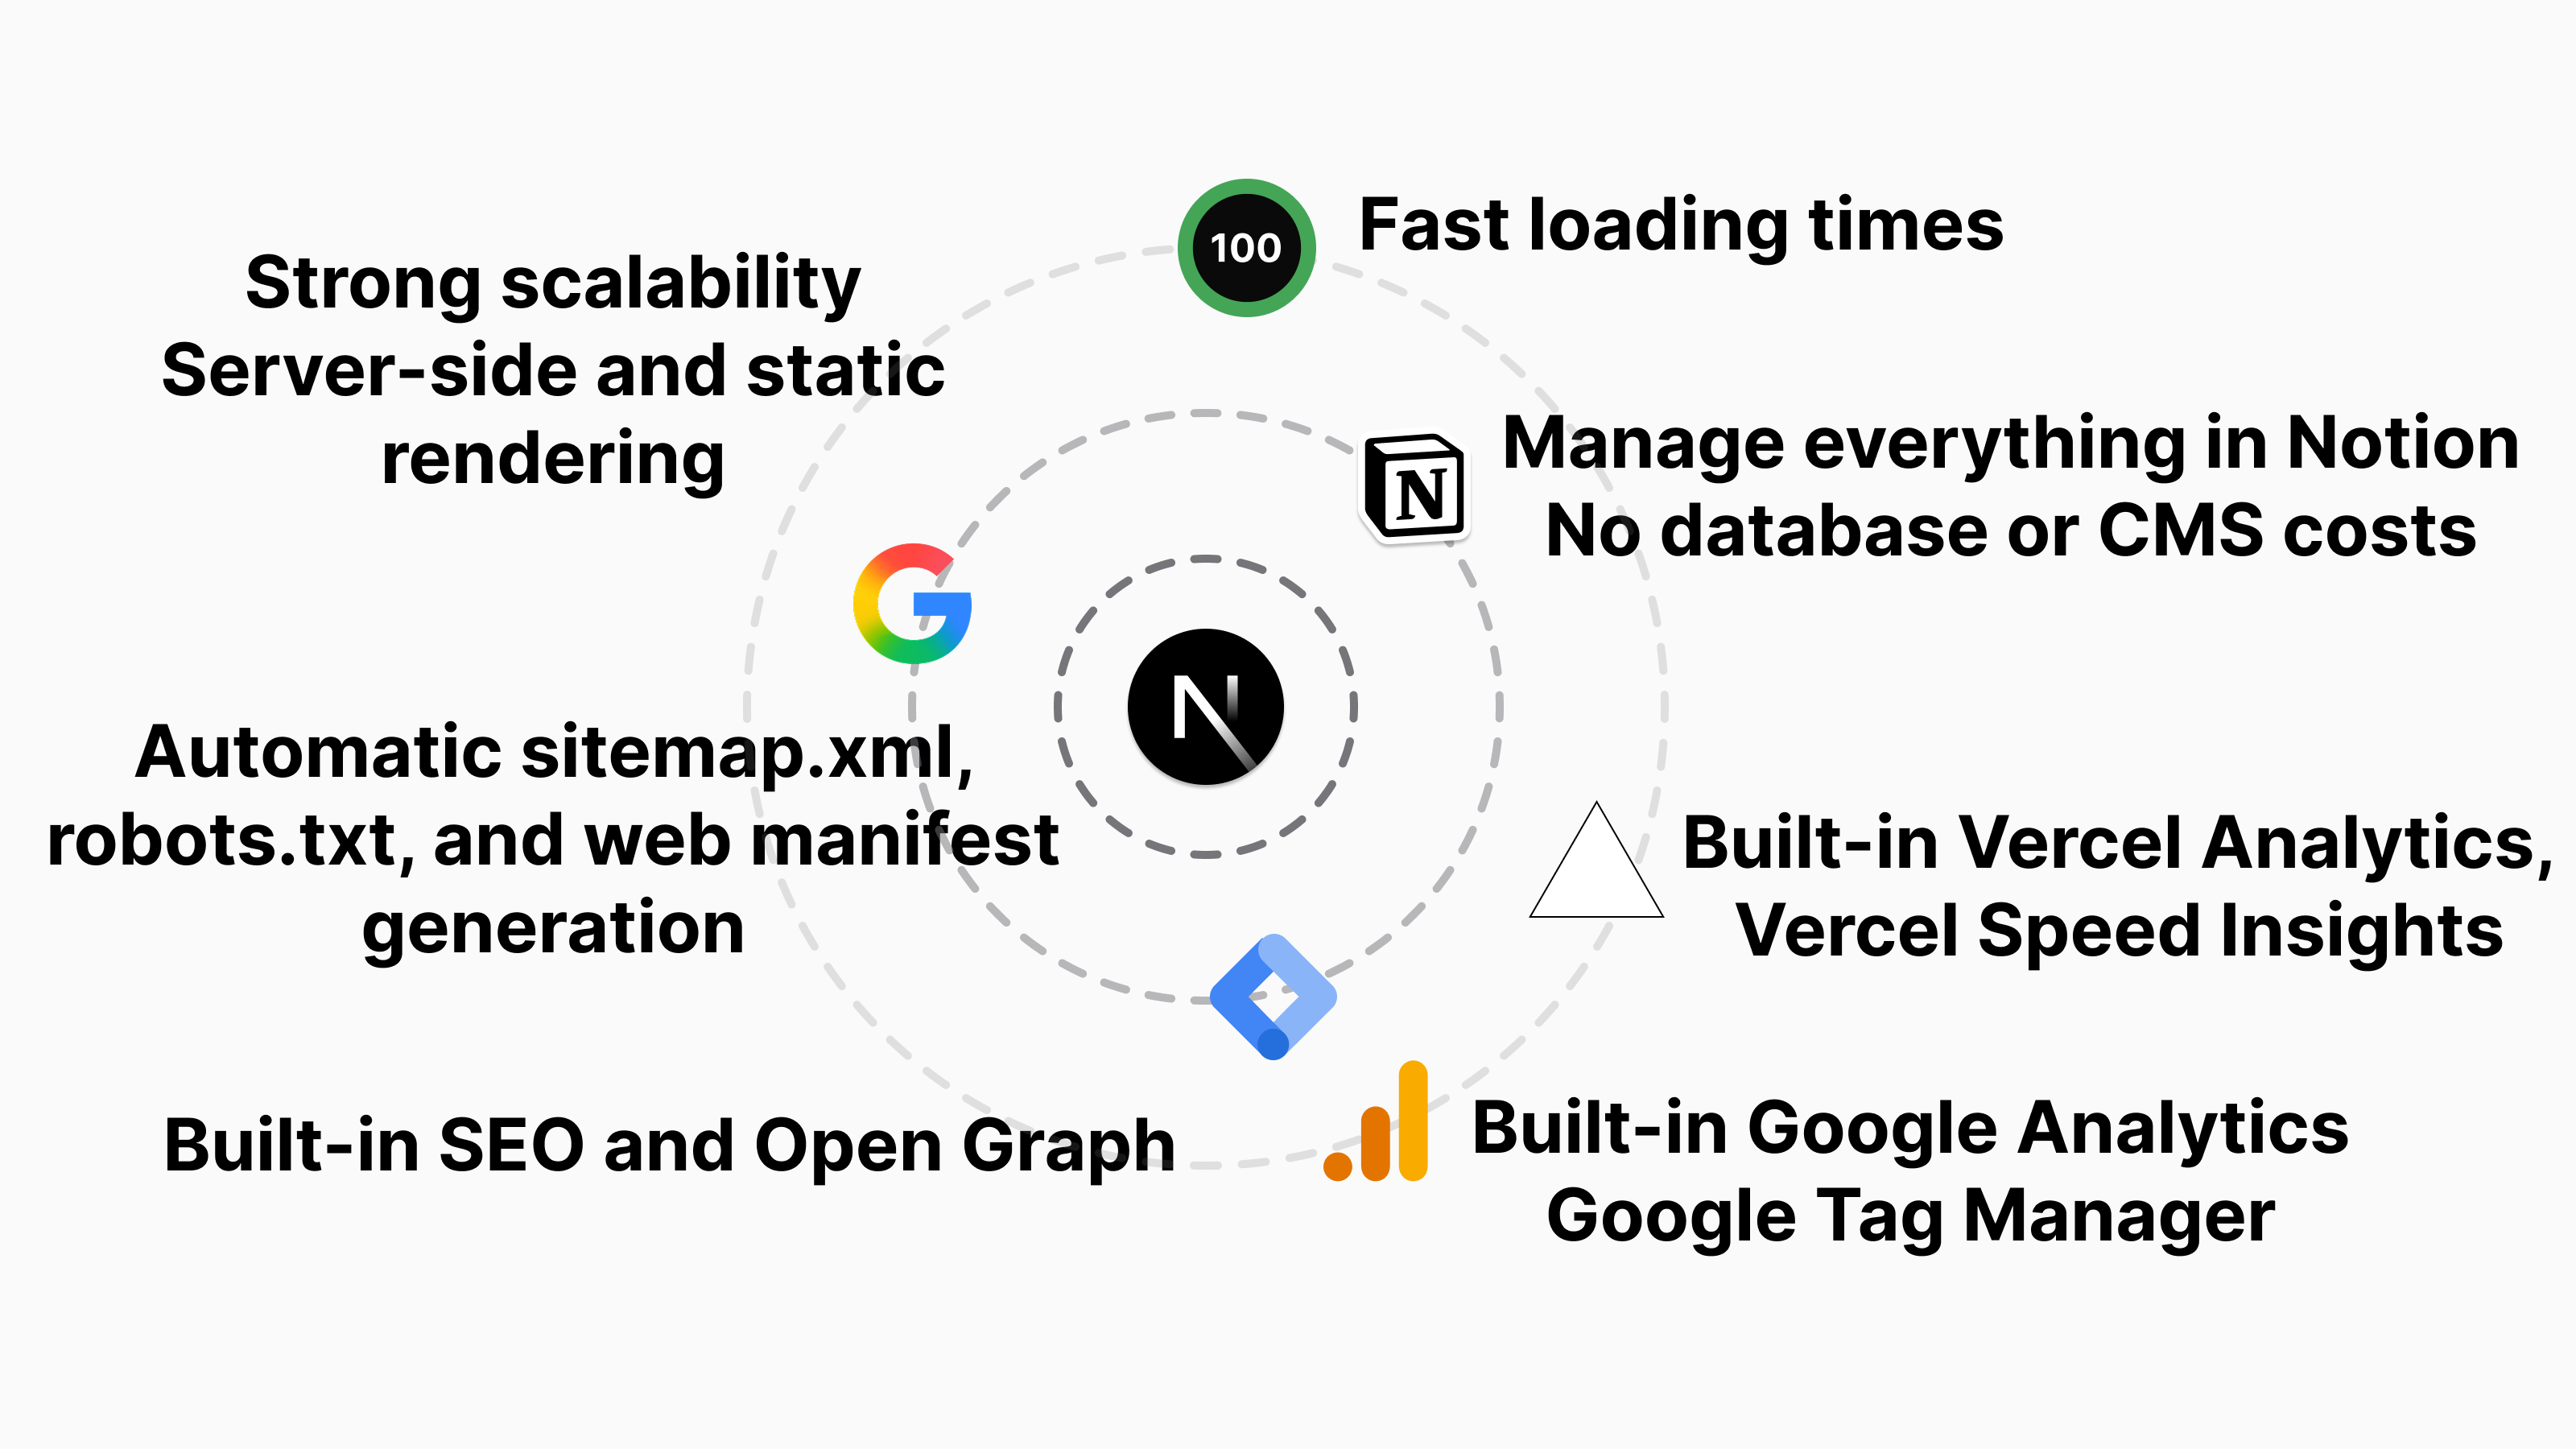


Portfolio/blog template where Notion is used as a headless CMS, enabling full control of your website, content, routes/slugs, SEO, Open Graphs, header/footer links, social links, favicon, manifest, robots.txt, and sitemap.xml.
