How to Unzip and Set Up the Project Folder
Learn how to extract the downloaded project ZIP file and find the actual project folder on your computer.

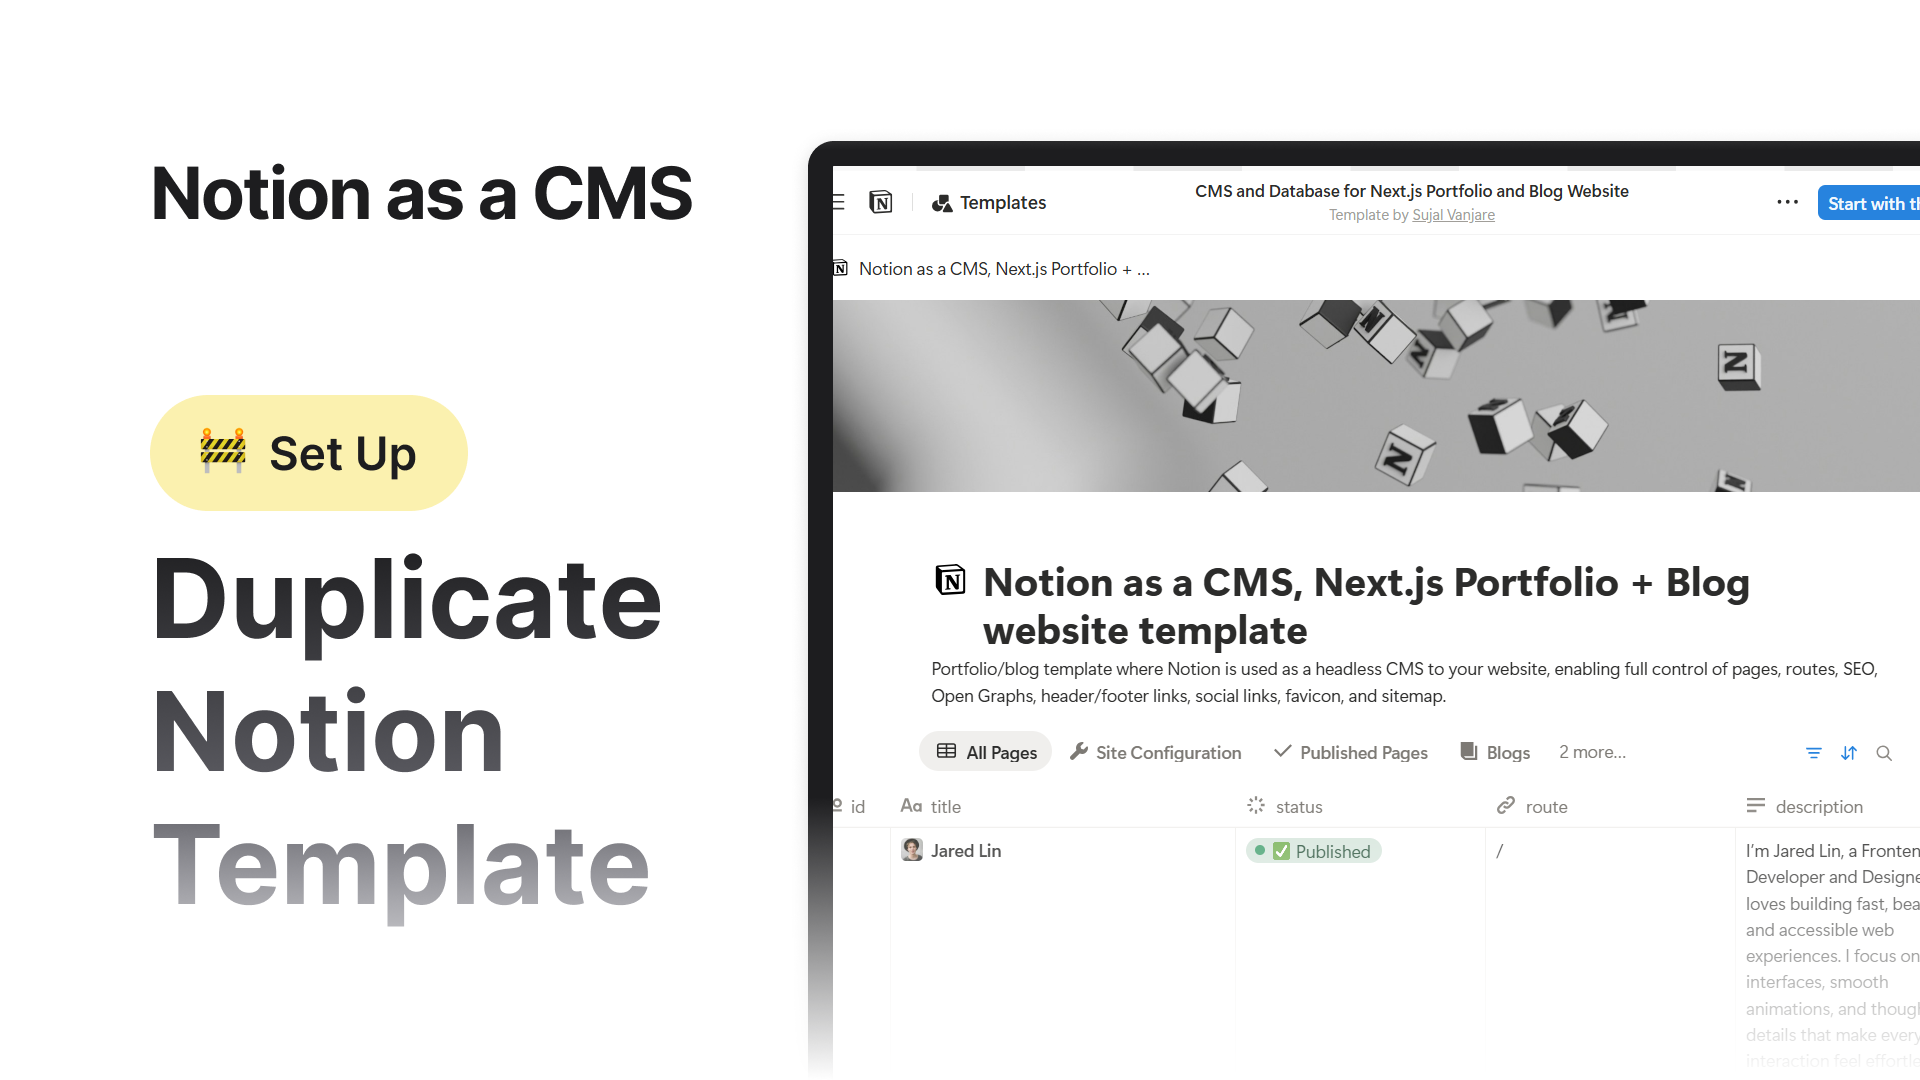
Posted by@Sujal Vanjare
Published on @
Updated on @

Step 1: Download the ZIP File
After purchasing the template, you’ll get a file named something like:
Notion-as-a-CMS-Nextjs-Portfolio-Blog-Template-v1.0.zip
( v1.0 ← The version may vary.)
It’s usually saved in your Downloads folder.
Step 2: Unzip the Folder
Windows
- 1.a.i.Right-click the ZIP file and choose Extract All.
- 2.b.ii.Click Extract.
- 3.c.iii.A new folder with the same name will appear.
- 4.d.iv.Open that folder - inside it, you’ll see the main project folder named:


macOS
- 1.a.i.Double-click the ZIP file.
- 2.b.ii.It will automatically unzip and create a new folder with the same name.
- 3.c.iii.Open that folder - inside it, you’ll find the actual project folder:
notion-as-a-cms-nextjs-portfolio-blog-main
Step 3: Open the Project Folder
Inside notion-as-a-cms-nextjs-portfolio-blog-main you should see files like:
Plain Text
/notion-as-a-cms-nextjs-portfolio-blog-main
│
├── src/
├── public/
├── package.json
├── README.md
└── ...
That’s your working folder - you’ll open this one in your code editor (like VS Code).
Step 4: Move It (Optional)
You can move the project folder anywhere you prefer, for example:
Documents/Projects/Desktop/NotionCMS/
Step 5: Done
Your project folder is ready.
Next ![]()